When your hummingbird feeder starts to leak, it can be both unsightly and dangerous for the birds. To prevent this issue and continue enjoying the presence of these beautiful creatures, here are some effective tips:
Inspect the Feeder for Cracks or Damage
Check your feeder thoroughly for any cracks or damage. If you find any, it’s crucial to replace the feeder with a new one. Cracks or damage can contribute to leakage and compromise the functionality of the feeder.
Ensure the Feeder is Clean
A build-up of residue can also cause your feeder to leak. To prevent this, regularly clean your feeder using a mild soap and water solution. This will help remove any residue and keep the feeder in optimal condition.
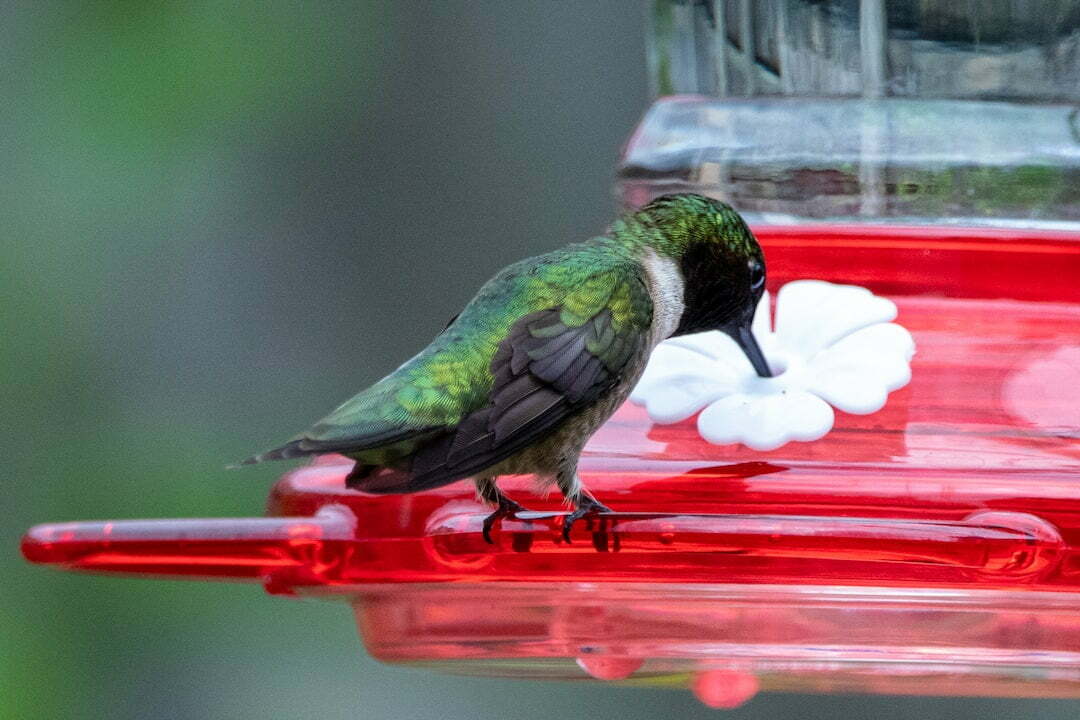
Check the Size of the Perch
If your feeder has a perch, make sure it is the correct size. A perch that is too small can lead to leakage. Ensure that the perch is suitable for the hummingbirds to comfortably rest on while feeding.
Inspect the Rubber Stopper
Examine the rubber stopper at the bottom of the feeder. If you notice any cracks or damage, it’s important to replace it. A damaged rubber stopper can cause leakage and compromise the effectiveness of the feeder.
Secure the Feeder Properly
Make sure that your feeder is securely fastened. A loose feeder can result in leakage. Ensure that all parts of the feeder are tightly secured to prevent any potential leaks.
By following these tips, you can effectively prevent your hummingbird feeder from leaking and ensure the safety and health of the birds.
It’s worth noting that there is no one-size-fits-all solution for everyone. It’s essential to experiment and find what works best for you and your specific hummingbird feeders.
Remember, if you notice any cracks or damage to your feeder, it’s best to replace it to maintain its functionality and prevent any potential issues.